
A rod end is the only part of the rod anyone looks at, and it is the part most often ruined in the last thirty seconds of a job. Three defects account for nearly every complaint, and each has a different cause.
Defect one: the white haze
A milky patch at the end means the surface exceeded roughly 180 °C and the polymer began to depolymerise. It cannot be polished out; it has to be machined back 0.5 mm and redone. The cause is dwell, not flame temperature: a soft flame held still for four seconds does more damage than a hotter flame swept across in one second.
Defect two: the star crack
A saw cut with a blunt blade or no coolant leaves a stress layer, and flame polishing that layer releases it as a crack radiating from the centre. Fix the cut first: a blade with a low rake, a feed under 0.3 mm per revolution and air blast, then a 0.3 mm finish pass before any heat.
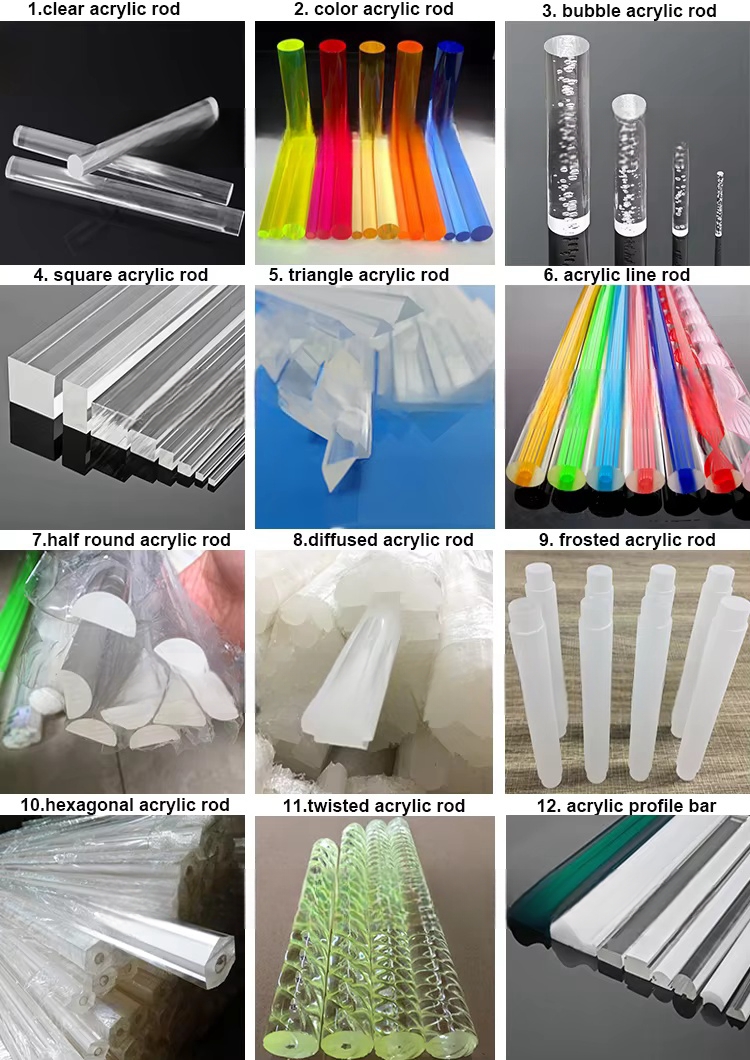
Defect three: orange peel
Skipping from a saw cut straight to a buff leaves a dimpled surface that looks wet but distorts the view through it. Grits 400, 800, 1200, then a white compound on a soft wheel at low speed. On rod ends the wheel should run at about 1,500 rpm; above 2,500 rpm the compound heats and smears.
The sequence that produces a clear end
- Cut with coolant, low rake, finishing pass at 0.3 mm
- Face on a lathe to square the end, then sand wet through 400 / 800 / 1200
- Flame polish with a soft, slightly reducing flame swept at 150 mm per second from the centre outward
- Buff with white compound, one direction, low speed, then clean with a dry cloth — solvent cleaning after buffing re-opens the surface
For a batch of 50 mm rod ends, do one and inspect it under a low-angle light before running the rest. A haze that only shows under angled light is the defect customers notice first, and it is visible before the part leaves the bench. Related finishing detail sits in cutting, drilling and polishing acrylic.
Tooling matters more than technique on rod. A four-jaw chuck with soft jaws holds the rod without marking, and a collet that grips on the diameter rather than the end keeps the face square. A rod held in a three-jaw chuck with hard jaws will be oval at the end before the tool touches it, and the polish will show that oval as a dark ring.
For a batch, the cheapest quality control is a low-angle inspection lamp and a felt-tip mark. Mark one end, polish it, inspect at 15° under the lamp, and only then run the rest. The haze that customers complain about is almost always visible at that angle, before the part leaves the bench.
Cleaning after buffing deserves its own rule. A solvent wipe removes the compound residue and leaves a clean end, but the same solvent opens the polished surface to stress and the end crazes weeks later. Use a dry microfibre cloth, and reserve solvent for the unpolished shank only.
If a batch of rods has already gone cloudy at the ends, send photographs and the polishing method to oversales@rpplexiglass.com and we will diagnose which step failed.
Finishing shops generally hit one of these three failures first.
Frequently Asked Questions
Q: Why is my acrylic rod end cloudy after flame polishing?
A: The surface exceeded about 180 °C and started to depolymerise. Dwell is the cause, so machine back 0.5 mm and sweep the flame faster rather than cooler.
Q: How do I stop acrylic rod ends from cracking after cutting?
A: Use a low-rake blade with coolant and a 0.3 mm finishing pass. Flame polishing a stressed saw cut releases the stress as a star crack.
Q: What grit sequence for a clear acrylic rod end?
A: Wet sand through 400, 800 and 1200, flame polish in one sweep, then buff with white compound at about 1,500 rpm.