
A dance studio in Rotterdam ordered 180 acrylic mirror tiles at 500 x 500 mm to cover a wall that had previously held glass. The first delivery looked perfect in the crate. Installed, the wall read as a funhouse: every joint showed a step and the reflection rippled across the middle of the room. The tiles were fine. The wall had 4 mm of undulation over 3 m and the adhesive had been spotted, not spread.
Acrylic mirror is chosen for two reasons: it weighs roughly half of glass at equal thickness, and it does not shatter into blades when hit. Both advantages survive only if the panel is fixed flat and fully supported.
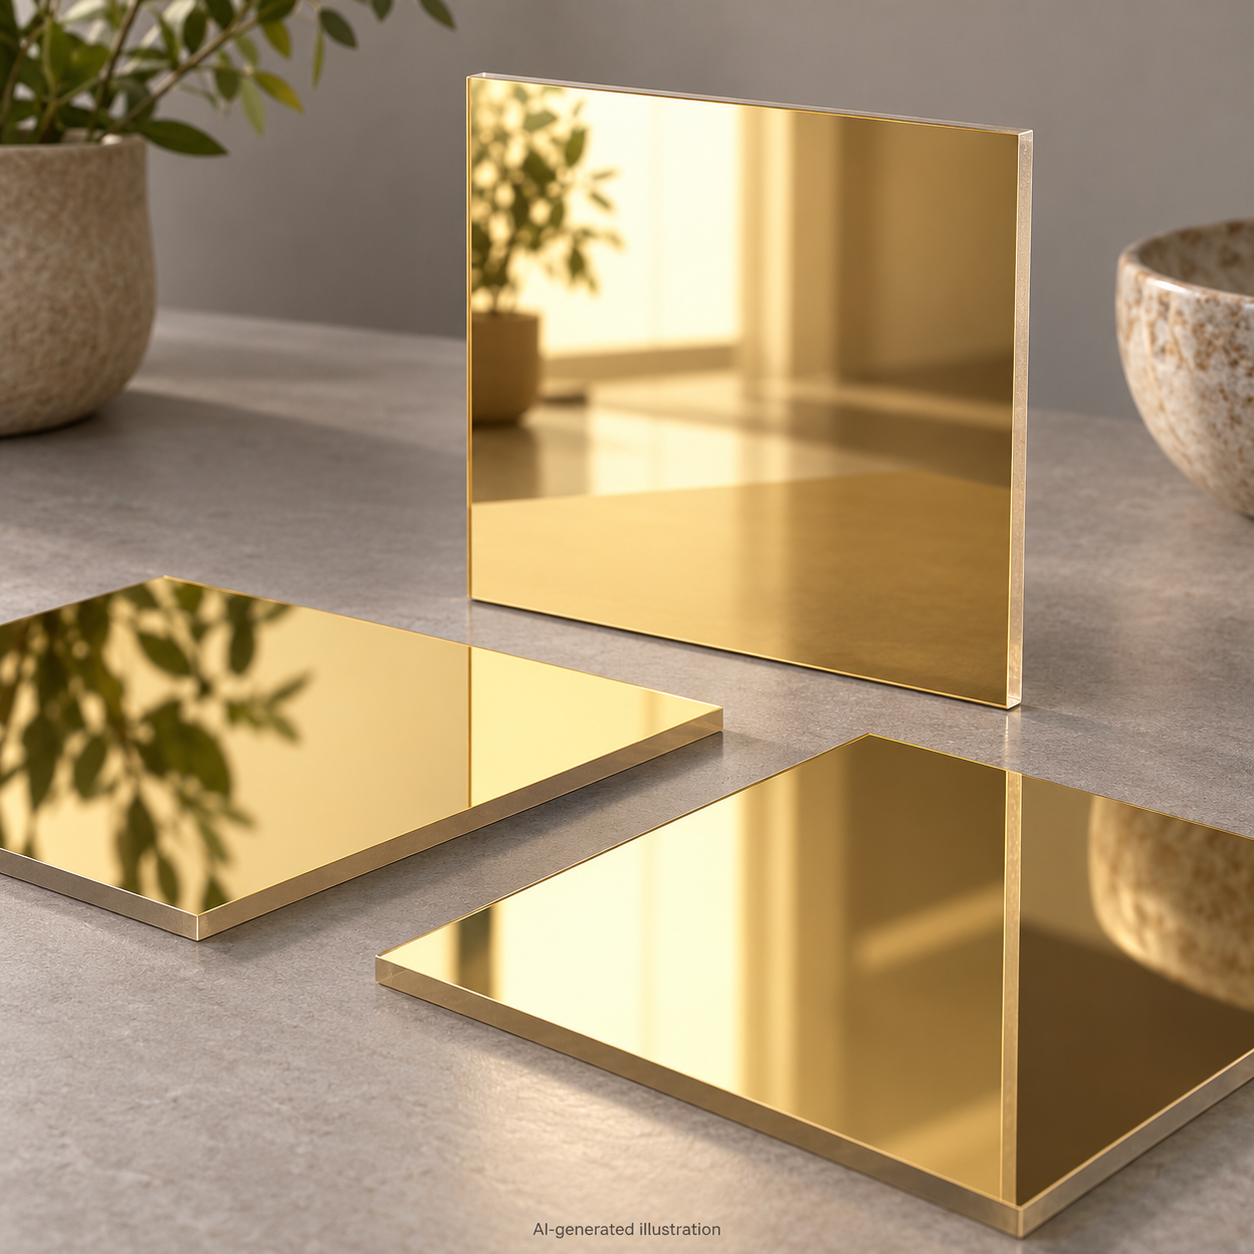
Acrylic mirror tiles: thickness and backing choice
- 2 mm: small tiles on a flat substrate, short runs
- 3 mm: the standard for wall arrays, gyms and ceilings
- Backing: pressure-sensitive adhesive film, or hard-coat for humid rooms
- Edge: square cut with a 0.5 mm chamfer, polished only if visible
There are two mirror constructions in the market and they behave differently. A silvered acrylic mirror has a reflective coating behind the sheet and a protective back coat; a laminated mirror bonds a thin reflective film to a carrier. For humid rooms such as pool changing areas, the hard-coated version is worth the premium because the back coat is what fails first.
Our production line checks each tile for bow on a granite table before packing. A tile that rocks more than 0.3 mm across 500 mm will telegraph that bow onto the wall no matter how good the adhesive is.
Adhesive, joints and the ceiling case
The adhesive must be neutral and solvent-free. Solvent-based contact adhesives attack the back coat and produce a haze that appears as a dark cloud in the reflection, usually starting at the tile centre where the bond is thinnest. Use a modified silicone or a purpose-made mirror adhesive, spread with a notched trowel so the whole back is supported.
Joints should be 2 mm and consistent. A 2 mm open joint reads as a clean grid; a closed joint with two slightly different tile sizes reads as a mistake. Order tiles as one production run so the cut size is uniform, and specify a nominal size with a tolerance rather than an exact figure.
Overhead, adhesive only is not a fixing. Use clips, channels or screws through a backing plate. For a gym ceiling at 3.5 m, the array is usually fixed to a plywood deck with counter-bored screws and a 2 mm joint, and the tile is supported for 24 hours while the adhesive sets.
If the same project also needs framed mirrors in the changing rooms, our mirror acrylic sheet guide covers edge sealing and frame clearance, and the acrylic mirror sheet price guide explains why the silvered and laminated grades differ in cost.
Tell us the wall area, substrate and tile module at oversales@rpplexiglass.com and we will quote tiles with the right backing for your adhesive.
Frequently Asked Questions
What thickness are acrylic mirror tiles?
Most wall tiles are 2 mm or 3 mm. Below 2 mm the tile takes the shape of the wall and the reflection distorts; above 3 mm the weight and cost rise without a visible gain on a flat substrate.
Can acrylic mirror tiles be used on a ceiling?
Yes, with mechanical fixings or a proprietary clip system. Adhesive alone is not acceptable overhead. Tiles should also be supported while the adhesive cures, because a 3 mm tile at 600 x 600 mm weighs about 1.1 kg.
Why does an acrylic mirror look wavy?
Usually the substrate, not the tile. A 2 mm tile over a wall with 3 mm of undulation will show every ridge. The fix is a flatter substrate or a thicker tile with a pressure-sensitive backing that bridges small hollows.