
An acrylic restaurant menu board is a change-management product before it is a design object. A 30-store casual chain rolled out 900 x 600 mm acrylic menu boards across its estate in one quarter. By the second price change, staff were printing new menus on paper and taping them over the board, because the original design had the menu printed directly onto 4 mm clear acrylic with no insert system. The boards were well made and unusable.
The lesson is that an acrylic restaurant menu board is a change-management product. Menus change four to six times a year, prices change more often, and the board has to accept a new print without a new panel. Design the holding system before choosing the finish.
Sheet choice: 3 mm for inserts, 5 mm for print
A board that holds a printed insert behind a clear cover works well at 3 mm for the cover and 3 to 4 mm for the back panel. A board with the menu printed directly on the face needs 5 mm to stay flat across 900 mm and to resist cleaning. Either way, specify cast sheet: extruded acrylic in a warm kitchen environment bows and hazes faster.
Gloss shows fingerprints under downlight; a matte face at 20 to 30 gloss reads cleanly from 1.5 m and photographs well for online menus. The trade is that matte sheet collects grease slightly faster, which is a cleaning schedule question rather than a material one.
Acrylic restaurant menu board insert systems
Three systems cover most rollouts. A magnetic strip top and bottom holds a printed card and allows a same-day change. A extruded acrylic rail with a 4 mm slot holds a card with a rigid backing and looks more permanent. A hinged frame with a cam lock allows the whole face to open, which is the right choice for a board that carries allergens and legal text.
Whichever system is chosen, leave 15 mm of clear margin around the print. A card cut to the full panel size jams in the rail once the humidity changes, and staff trim it with a knife, which is how a menu board acquires a ragged edge.
Backlighting: distance, diffusion and heat
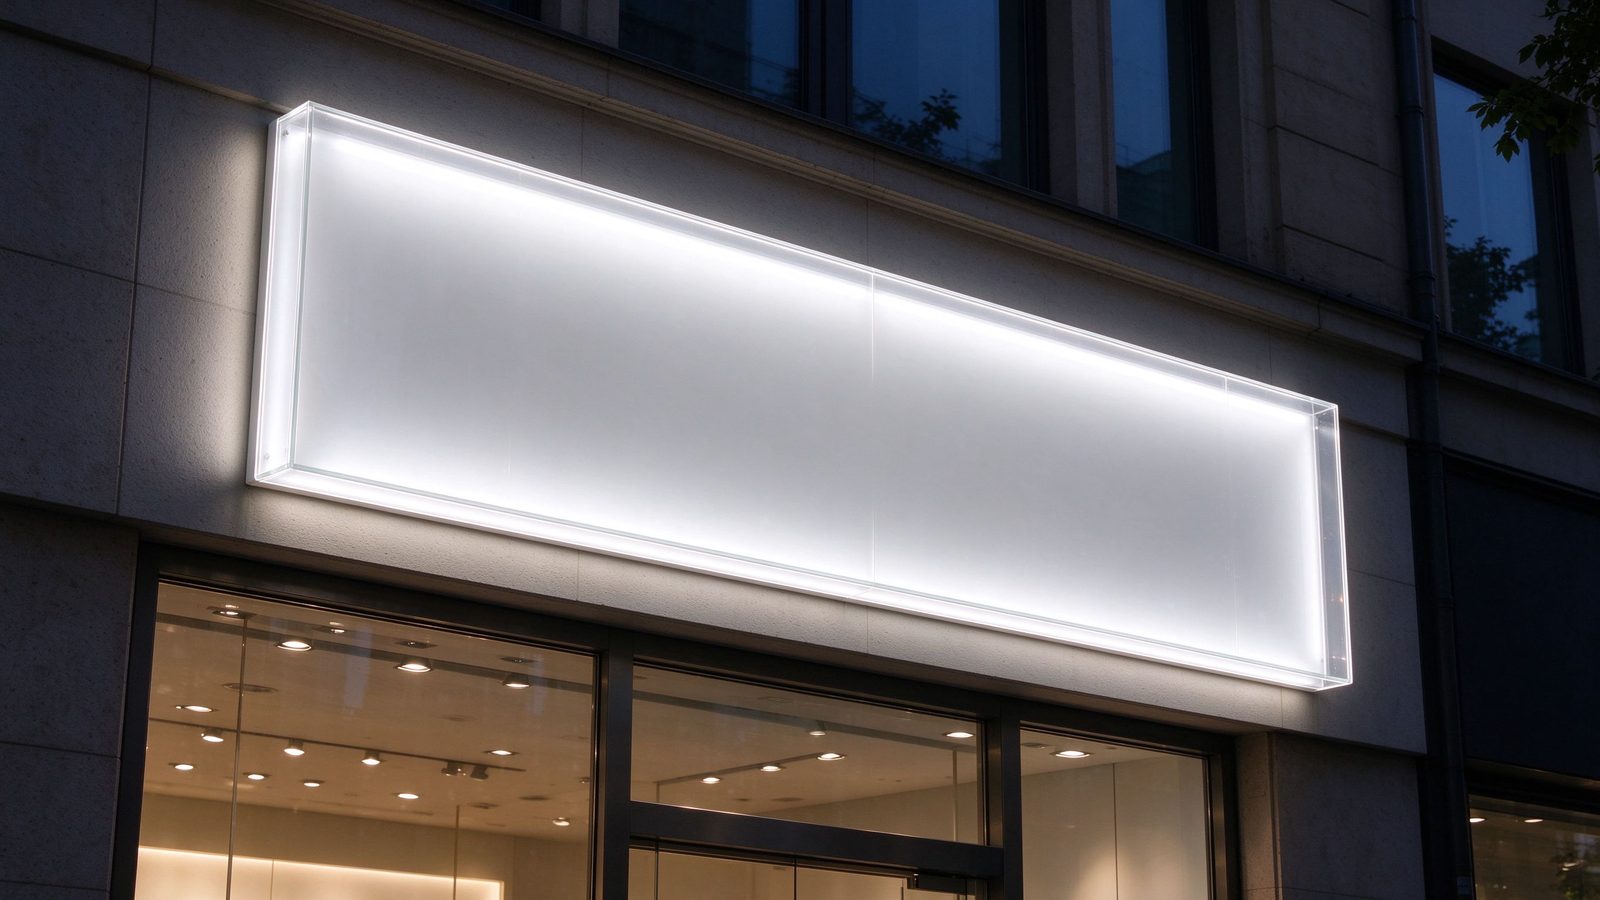
A backlit board needs an opal diffuser at least 3 mm thick, set 40 to 60 mm in front of the LED array. Closer than 30 mm and the individual diodes read as bright spots; further than 80 mm and the edges fall off. LED strips should be on an aluminium channel, not taped to the back panel, because acrylic softens at 100 °C and a poorly heatsinked strip will mark the sheet.
For the diffuser grade and the light-guide options behind a backlit panel, our guide to acrylic sheet for LED signage covers the optical choices, and the wider panel selection is set out in the retail signage and display guide.
Cleaning in a kitchen is the last specification item. Grease comes off with warm water and a neutral detergent; a solvent degreaser will craze the surface within a month. State the cleaner in the handover pack so the board outlives the first menu cycle.
Send the board size, print method and how often the menu changes to oversales@rpplexiglass.com, and we will quote cast acrylic boards with the insert or rail system that fits your rollout.
Frequently Asked Questions
What thickness acrylic for a menu board?
3 mm for a clear cover over a printed insert, and 5 mm where the menu is printed directly on the panel or the board is larger than 900 mm. Thinner sheet bows in a warm kitchen and shows a wavy reflection under downlights.
Can acrylic menu boards be backlit?
Yes, with a 3 mm opal diffuser set 40 to 60 mm in front of the LEDs. Closer spacing causes hot spots, and an LED strip without an aluminium channel can heat the sheet enough to mark it over a few thousand hours.
How do I change the menu without replacing the board?
Use a magnetic strip, a slotted acrylic rail or a hinged frame, and print the menu as a separate card with a 15 mm margin. Direct-printed boards force a full replacement at every price change, which is the most common design mistake in chain rollouts.