
Before you price a noise control barrier, ask what the receiver actually hears. A buyer who jumps straight to panel thickness misses the decisions that decide whether the barrier works: where the receiver sits, how high the dominant source is, and how much noise comes around the ends of the screen.
A short buying sequence
Start with the boundary receiver and the noise source. That fixes the height of the barrier, because a panel that stops below the top of the source leaks noise over the top. Then set the length so sound does not wrap around the ends, and finally choose the transparent acrylic panel that delivers the height, impact resistance and UV life the corridor needs. Buying a panel before this sequence is buying the wrong screen.
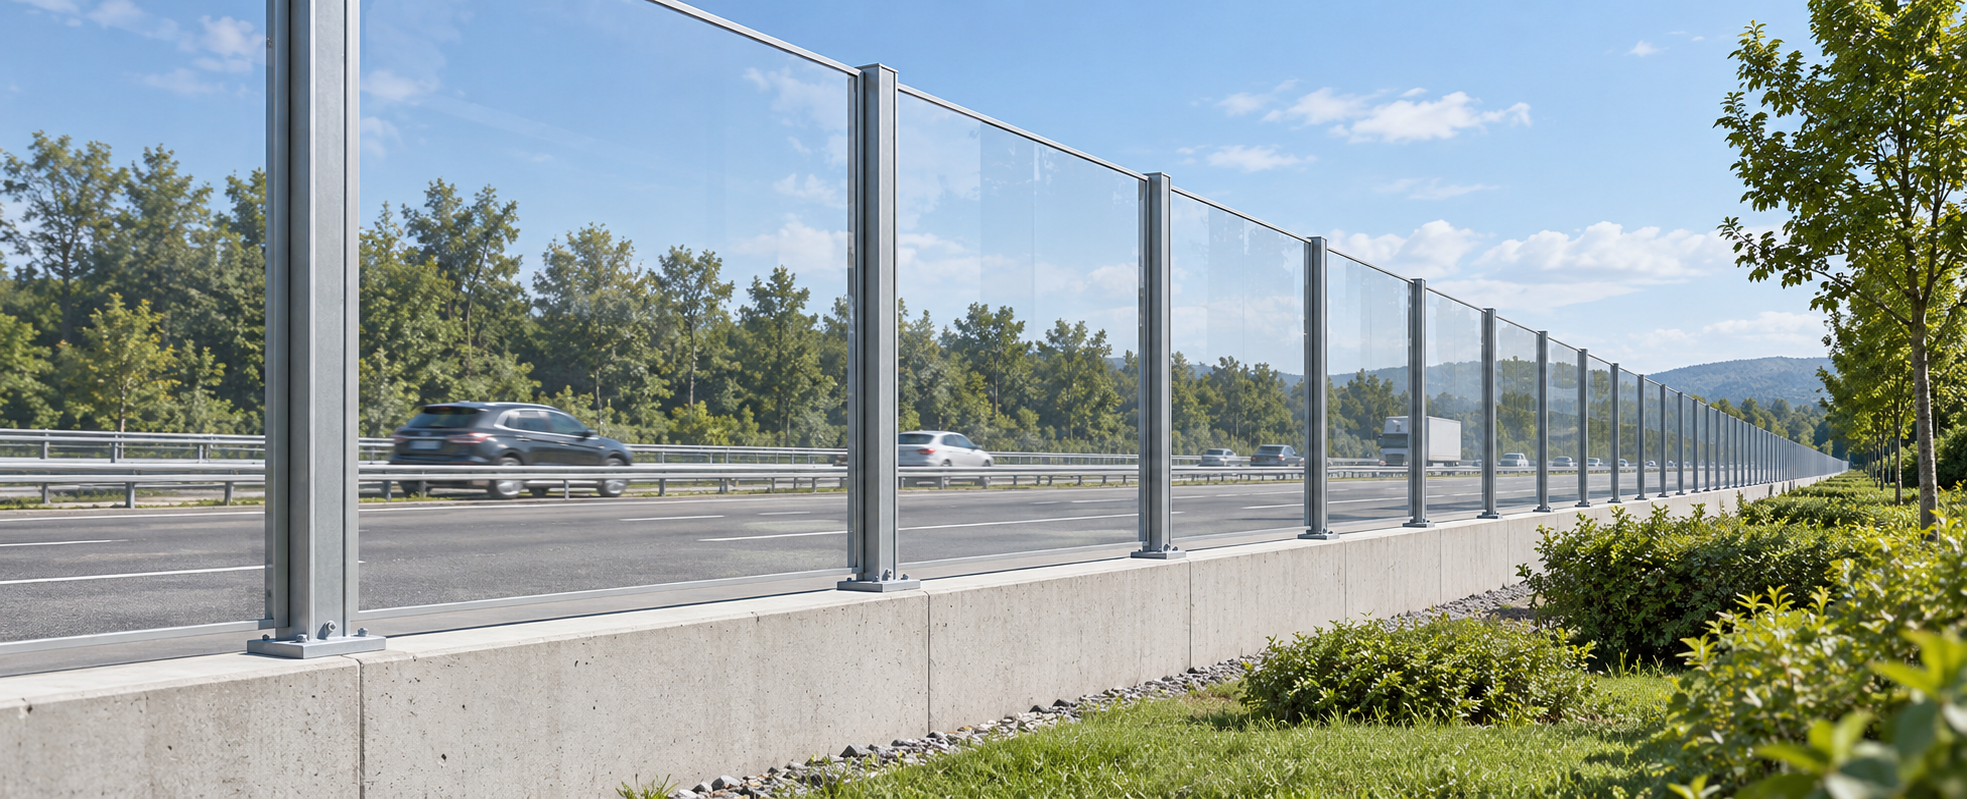
Decisions that change the outcome
- Receiver distance and height relative to the source.
- Barrier height reaching above the dominant noise source.
- Barrier length long enough to stop end-around noise.
- Acrylic thickness and post spacing from the site wind load.
The core panel spec is explained in the transparent noise barrier panels guide, and for the sheet itself, see acrylic sheet sound barriers.
Frequently Asked Questions
Q: How tall should a noise control barrier be?
A:High enough to reach above the dominant noise source between the road and the receiver. Height is set by the source and receiver geometry, not by a generic rule.
Q: Why use transparent acrylic instead of an opaque noise control barrier?
A:Transparent panels keep the view for residents and drivers while still blocking sound. They suit corridors where an opaque wall would close off sightlines.
For a transparent acrylic barrier quoted to your route, loading and test standard, email oversales@rpplexiglass.com with the corridor length, panel height, thickness and the standard you need to meet.